
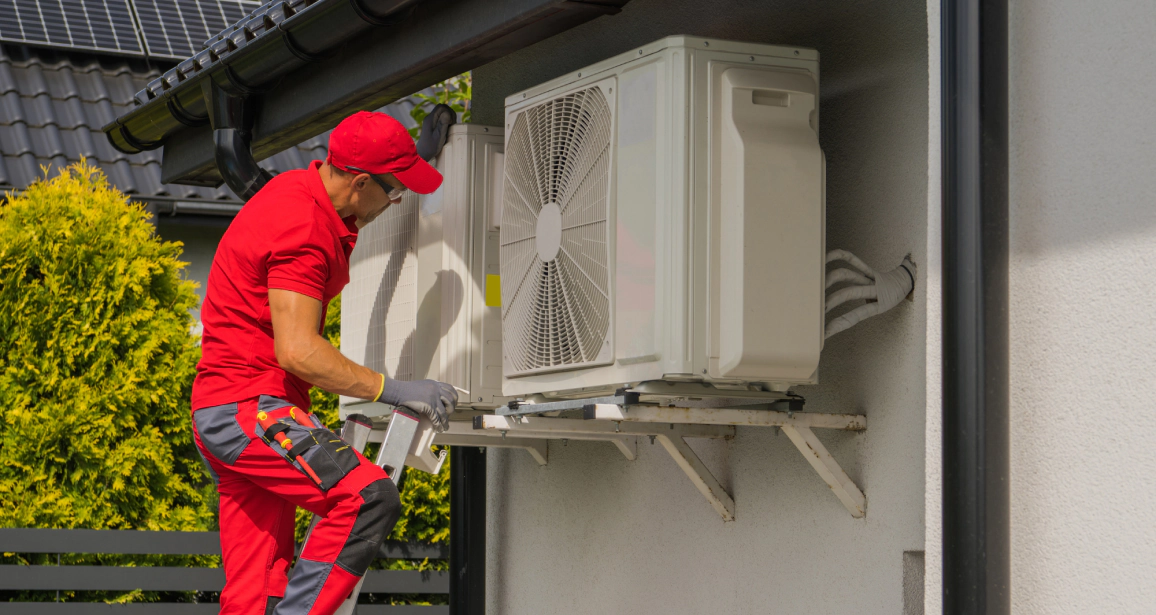
Check Your Thermostat Settings and Batteries
The thermostat controls every cooling cycle, and incorrect settings are the most common reason an air conditioning system blows warm air instead of cold. Before investigating mechanical failures or refrigerant levels, verify that your thermostat is set to COOL mode, not HEAT or AUTO. During Fort Worth’s unpredictable spring weather, when mornings are cool and afternoons spike into the upper 80s, thermostats can be accidentally left in the wrong mode after overnight temperature drops.
Next, confirm the temperature setting is lower than the current room temperature. If your thermostat displays 78 degrees but the room reads 76, the system will not activate cooling. This seems obvious, but it accounts for a significant portion of residential ac repair calls, especially in multi-family properties where tenants adjust settings frequently.
Check the fan setting as well. If the fan is set to ON rather than AUTO, the system will circulate air continuously without running the compressor. You will feel air movement from vents, but it will be warm or neutral because the cooling cycle is not engaged. Switch the fan to AUTO so it only runs during active cooling.
Low or dead thermostat batteries can cause erratic behavior or complete system shutdowns. Replace batteries annually, ideally before cooling season begins in late April. For Fort Worth homes with older thermostats, battery failure often coincides with the first heat wave of the season, leaving families without cooling when they need it most. If your thermostat screen is dim, blank, or unresponsive, replace the batteries immediately and wait a few minutes for the system to reboot. If problems persist after battery replacement and setting verification, the issue likely lies elsewhere in the HVAC system and may require professional residential hvac repair.
Inspect and Replace Your Air Filter
A clogged air filter restricts airflow across the evaporator coil, reducing cooling efficiency and sometimes causing the coil to freeze. When ice forms on the coil, the system cannot absorb heat from indoor air, resulting in warm air blowing from vents. Air filters trap dust, pollen, pet dander, and other particulates, and they become saturated quickly in environments with high usage or poor outdoor air quality.
In Fort Worth, airborne dust from construction activity and dry conditions during summer months accelerates filter clogging. Homes near major corridors or new developments often need filter changes every 30 days instead of the standard 90-day interval. Commercial air conditioning systems in warehouses or manufacturing facilities face even shorter intervals due to higher particulate loads and continuous operation.
Locate your air filter, typically found in the return air vent, inside the air handler cabinet, or at the furnace. Remove the filter and hold it up to a light source. If you cannot see light passing through, the filter is too dirty and must be replaced immediately. Even if some light passes through, visible dust buildup on the filter surface indicates it is time for a change.
Choose the correct filter size and MERV rating for your system. Most residential systems use MERV 8 to MERV 11 filters, which balance filtration efficiency with airflow. Higher MERV ratings capture smaller particles but can restrict airflow if your system is not designed for them. After installing a new filter, allow the system to run for at least 30 minutes before assessing performance. If warm air persists despite a clean filter, check for frozen coils. Turn off the system and let the coil thaw completely before restarting. If freezing recurs, refrigerant levels or airflow issues may be at fault, and professional hvac services will be necessary to diagnose and resolve the underlying cause.
Examine the Outdoor Condenser Unit
The outdoor condenser unit releases heat absorbed from your indoor space. If the condenser cannot expel heat efficiently, the refrigerant remains warm, and the system blows warm air indoors. Several common issues prevent condensers from operating correctly, and most are easy to identify with a visual inspection.
First, confirm the condenser is running when the thermostat calls for cooling. Walk outside and listen for the hum of the compressor and the sound of the fan. If the indoor air handler is running but the outdoor unit is silent, the problem may be a tripped circuit breaker, a blown fuse, or a failed capacitor. Check your electrical panel and reset any tripped breakers labeled for the air conditioning system. If the breaker trips again immediately, do not reset it a third time. Repeated tripping indicates a short circuit or compressor failure, and continued attempts can cause further damage. Contact a technician experienced in residential hvac repair to diagnose electrical faults safely.
If the condenser is running, inspect the unit for obstructions. Grass clippings, leaves, cottonwood seeds, and dirt accumulate on condenser coils, particularly during Fort Worth’s spring pollen season and summer storms. This debris layer insulates the coils and prevents heat transfer. Turn off power to the unit at the disconnect box, then gently spray the coils with a garden hose from the inside out. Avoid using a pressure washer, which can bend the delicate aluminum fins and worsen airflow restrictions.
Check for adequate clearance around the condenser. Vegetation, storage items, or fencing within two feet of the unit restricts airflow and reduces cooling capacity. Trim back shrubs and remove any objects blocking airflow. Commercial hvac repair teams frequently encounter condensers boxed in by landscaping or equipment, especially at retail and restaurant locations where outdoor space is limited. Ensuring at least 24 inches of clearance on all sides and five feet above the unit restores proper ventilation and cooling performance.
Assess Refrigerant Levels and Leak Indicators
Refrigerant circulates through the air conditioning system, absorbing indoor heat and releasing it outdoors. Low refrigerant levels prevent effective heat absorption, causing the system to blow warm air. Refrigerant does not deplete under normal operation, so low levels always indicate a leak. Identifying and repairing leaks requires specialized equipment and EPA-certified technicians, but you can recognize warning signs that point to refrigerant issues.
Ice forming on the refrigerant lines or evaporator coil is a primary indicator of low refrigerant. When refrigerant pressure drops, the remaining refrigerant becomes extremely cold, causing moisture in the air to freeze on contact. If you see frost or ice on the copper lines running from the air handler to the condenser, turn off the system immediately and allow the ice to melt. Running the system with frozen coils can damage the compressor and result in costly repairs.
Listen for hissing or bubbling sounds near the indoor air handler or outdoor condenser. These sounds often indicate refrigerant escaping through a leak. Leaks commonly develop at connection points, valve stems, or along the evaporator coil due to vibration and corrosion over time. In Fort Worth’s high-humidity environment, condensation accelerates corrosion on coils and fittings, especially in older systems that lack corrosion-resistant coatings.
Verify Ductwork Integrity and Airflow Balance
Even when your air conditioning system produces cold air at the air handler, warm air at the vents can result from ductwork problems. Leaks, disconnections, and poor insulation allow cooled air to escape into unconditioned spaces such as attics and crawlspaces, while warm air infiltrates the ducts before reaching living areas. Duct issues are particularly common in older homes and commercial buildings where ductwork has deteriorated or was installed without proper sealing.
Inspect accessible ductwork in your attic, basement, or crawlspace for visible gaps, disconnected joints, or damaged insulation. Flexible ducts can sag or pull apart at connections, especially if they were not secured with metal clamps and mastic sealant. Rigid metal ducts may develop gaps at seams and joints due to building settlement or thermal expansion. Even small gaps significantly reduce system efficiency. A 10 percent duct leak can decrease cooling capacity by up to 30 percent, forcing the system to run longer and struggle to maintain set temperatures.
Check for adequate insulation on ducts running through unconditioned spaces. In Fort Worth attics, summer temperatures routinely exceed 130 degrees. Uninsulated or poorly insulated ducts absorb this heat, warming the air inside before it reaches your vents. Ducts should have at least R-6 insulation in attics and R-4.2 in crawlspaces. If insulation is compressed, missing, or damaged, consider adding or replacing it to prevent heat gain.
Assess airflow balance by measuring air velocity at supply vents in different rooms. Significant variation indicates blockages, crimped ducts, or improperly sized ductwork. Close interior doors and note whether certain rooms become warmer. If closing a bedroom door causes that room to heat up quickly, the return air pathway may be inadequate, creating pressure imbalances that reduce airflow. Installing transfer grilles or undercutting doors improves air circulation and system performance. For complex duct issues, especially in commercial hvac systems with long duct runs and multiple zones, professional commercial hvac companies can perform duct pressurization tests and thermal imaging to locate hidden leaks and design solutions. Sealing and insulating ductwork properly restores airflow, eliminates hot spots, and reduces energy consumption.